

With the introduction of native DNG in-camera, it is now possible to profile the camera the easy way. There are various ways of making a profile for the camera, but by far the fastest and most convenient is to use the X-Rite ColorChecker Passport. The idea of profiling the camera may be new to many, but it is of paramount importance to photographers who need to shoot reference colors (pantone, paintwork, automotive, commercial, fashion, art reproduction, etc.) and ensuring that the camera is ‘calibrated’ (in post production) to capture accurate colors.

COLOR IS DEVICE DEPENDENT and is different from device to device on how they display those color information . The art and science of trying to get all these colors to work together in a common language is the process of color management. Monitors need calibration regardless of how good the out of factory specifications are. Printers need calibration so that the color response on individual paper is consistent. The camera profile is the missing puzzle.
To use the Colorchecker Passport, simply do the following:
- Shoot the Color Chart under a reference light. For generic applications just place them in daylight (avoiding certain hours, overcast day) and take a shot of it in RAW file (DNG or other native formats)

Shot under reference light. Light used is a pair of Aputure LS 1/2W, with a CRI of 98 at 5100K. - Option: Convert the RAW file into DNG using Adobe’s DNG Converter tool (Ref: https://www.adobe.com/support/downloads/product.jsp?product=106&platform=Windows)
- Install the ColorChecker Passport application (supports both Windows and Mac OS X).
- Drag the DNG RAW file into the window:
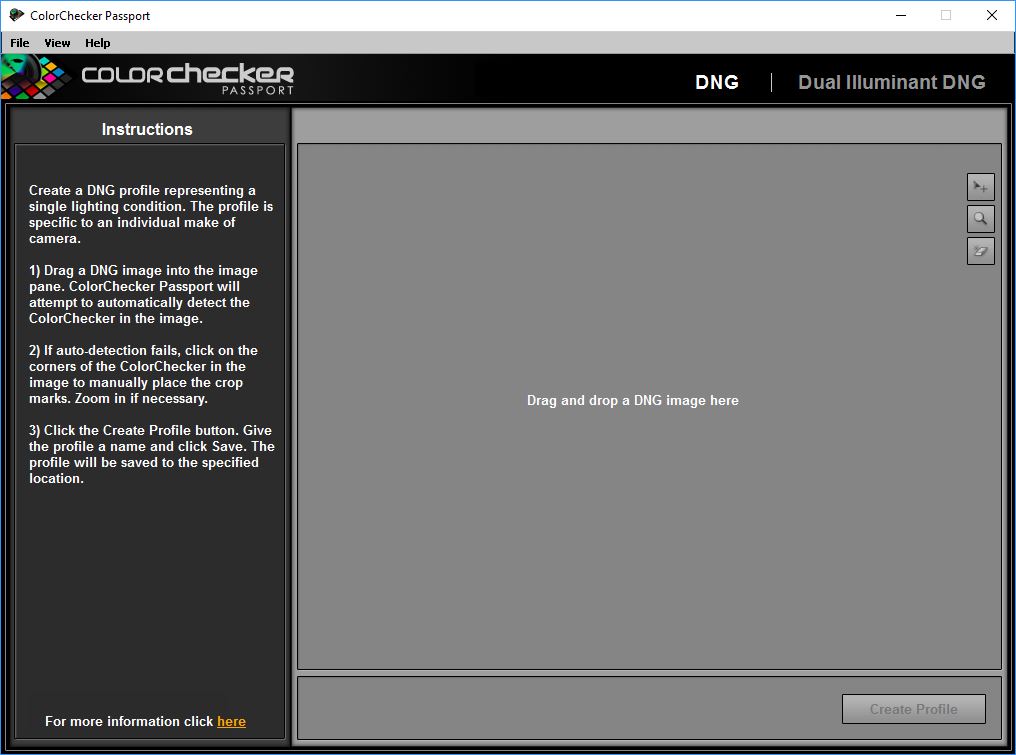
- In a few seconds, the application will automatically detect the color boxes it needs to perform the calibration. Click Create Profile.
- Name the profile. By default I will just use the camera model, in this case ‘sd Quattro H’. You may want to specify is by lens if you wish to calibrate it separately.
- Once it is done successfully, you will be greeted with a confirmation.

- That’s all! The profile, proprietary to Adobe Suite in ‘dcp format’ will be placed in the proper folders for use application wide.
Since I am in the business of fine art printmaking and am offering art reproduction services, I shall use a painting to illustrate the effect, before and after calibration.
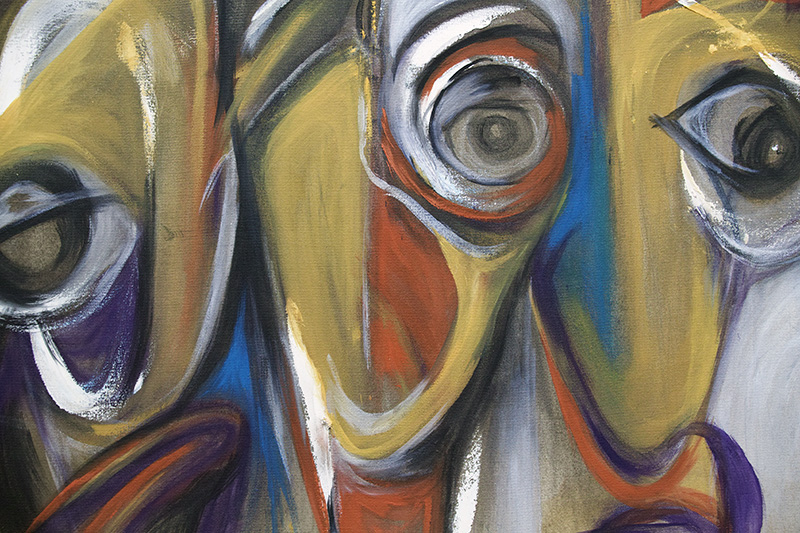


The calibrated image is so close to the original work, with probably a small margin of error which is easily corrected with further specific adjustments. The sd Quattro H does offer unprecedented advantages in this area, with color depth and definition of details beyond any camera in the same class!
Final Note:
It is also very important to work on a wide gamut, high accuracy LCD. I am using the BenQ SW2700PT which has excellent specifications covering a high 100% sRGB, 99% Adobe RGB with support for DCI-P3 and even REC 709 at the touch of a button.
Additional Info:
- File location of DNG Profiles are stored here.
- DNG profiles are camera specific.
- Adobe DNG Profile Editor.
- Creating DNG Profiles for Camera RAW